For a short guide, check out this great gist by Vogtinator.
In this post, we’ll get Windows (arm64) running on Apple Silicon with QEMU and understand what’s going on beneath the surface.
Windows ISO image
Download a Windows 11 arm ISO file from https://www.microsoft.com/en-us/software-download/windows11arm64. I’m using Win11_24H2_English_Arm64.iso with language English (United States) (5.5G).
What does the ISO file contain?
❯ file Win11_24H2_English_Arm64.iso
Win11_24H2_English_Arm64.iso: ISO 9660 CD-ROM filesystem data 'CCCOMA_A64FRE_EN-US_DV9' (bootable)
Let’s extract the contents of the ISO. You can do this easily by double-clicking the ISO file in Finder, or alternatively:
❯ hdiutil attach -mountpoint winarm-iso Win11_24H2_English_Arm64.iso
/dev/disk4                                              /Users/kevin/dev/qemu/winarm

❯ ls -lh winarm
total 2.6M
dr-xr-xr-x  4 kevin staff  336 Sep  6 06:19 boot
dr-xr-xr-x  4 kevin staff  148 Sep  6 06:19 efi
dr-xr-xr-x 18 kevin staff  14K Sep  6 06:19 sources
dr-xr-xr-x  3 kevin staff   96 Sep  6 06:19 support
-r-xr-xr-x  1 kevin staff 2.5M Sep  6 06:18 bootmgr.efi
-r-xr-xr-x  1 kevin staff  79K Sep  6 06:18 setup.exe
There are a couple of interesting files:
bootmgr.efi- boot manager that loads the Windows Preinstallation Environment (PE), which installs the actual Windows OS.setup.exe- initial setup program that guides you through choosing a keyboard language, and so on, and finally installing Windows.efi/boot/bootaa64.efi- first thing that the UEFI firmware executes during the initial setup, which in-turn callsbootmgr.efi.
How do these come together when we boot from the ISO with QEMU?
Windows Boot Sequence
Let’s take a look at the steps during the initial Windows installation, from starting the QEMU command to logging into the Windows machine for the first time.
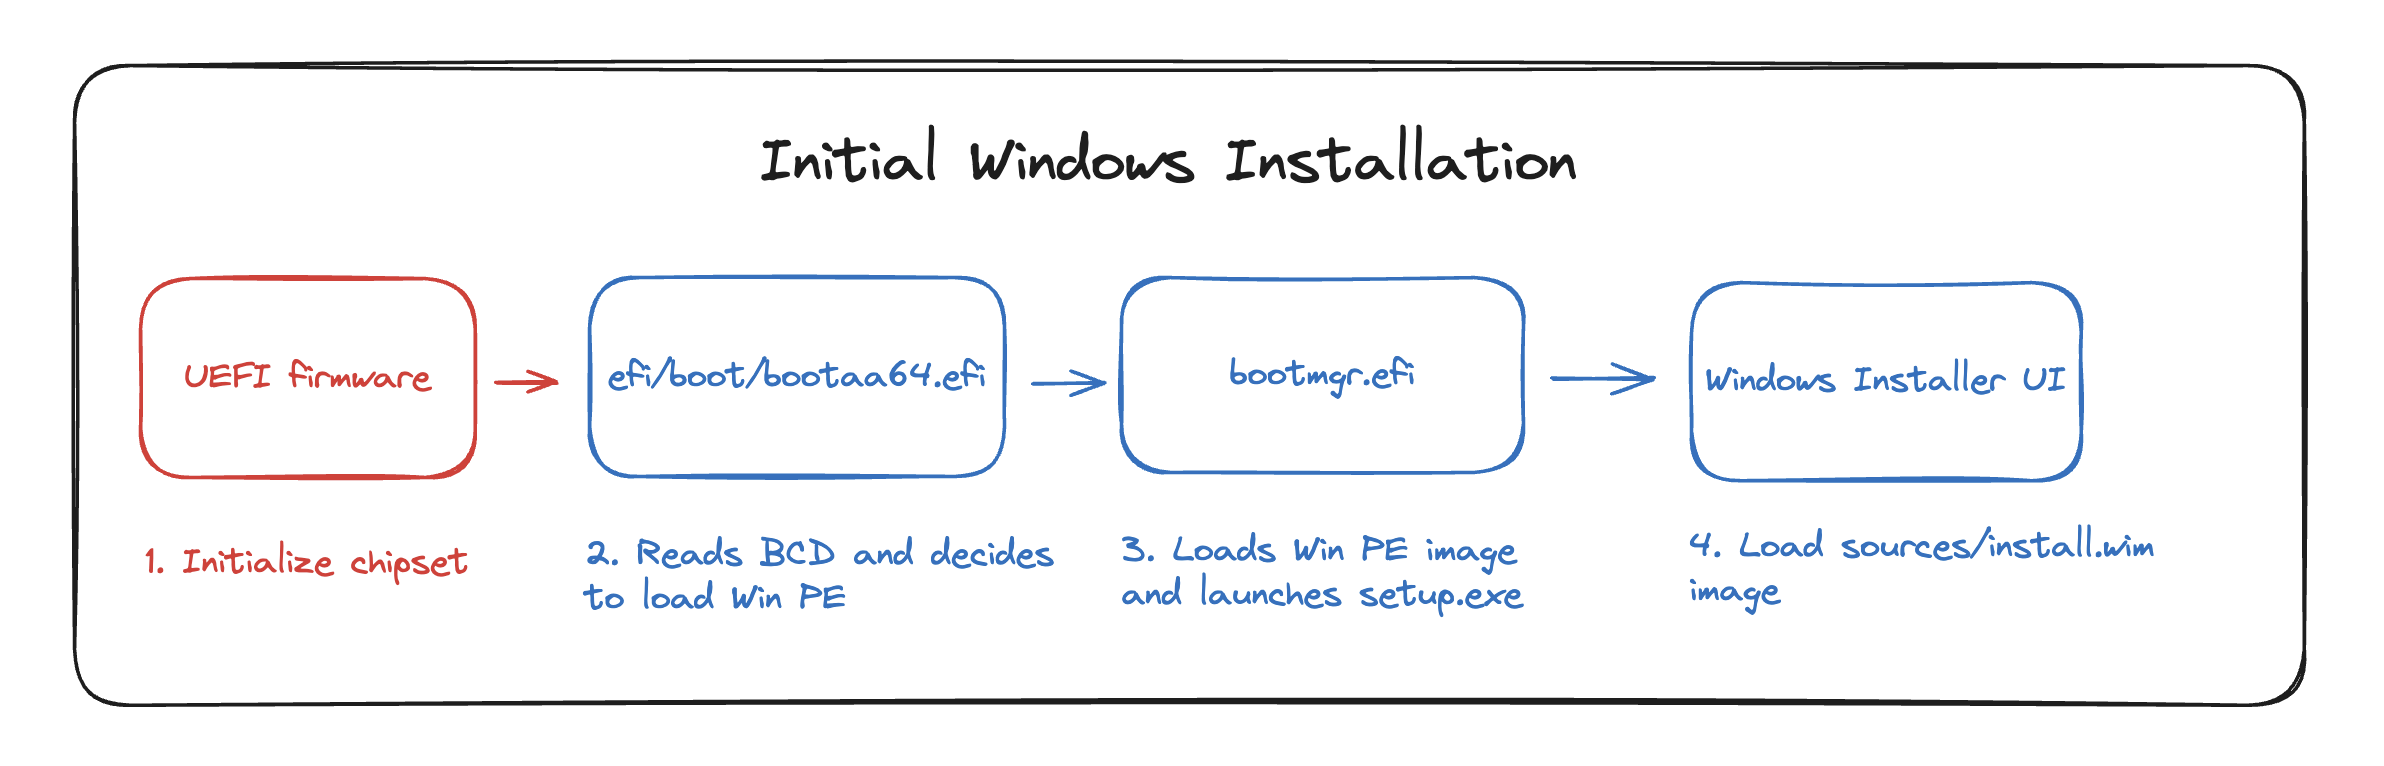
1. Firmware
The firmware is the first piece of code that runs when the machine starts. Typically, the firmware starts up all other components of the computer, like the CPU and
2. Loads Windows bootloader
Once the firmware performs the necessary initialization, it loads the OS boot manager at efi/boot/bootaa64.efi. This is not Windows specific - if there are no preconfigured
bootloaders, the firmware will load the bootloader at the default efi/boot/bootaa64.efi path.
The bootloader will read the Boot Configuration Data (BCD), a Windows registry file located at efi/microsoft/boot/bcd. This registry stores information about the boot options stored on the machine (such as the installed Windows OS versions).
Since there are no such installed operating systems yet, the bootloader proceeds with launching the Windows installer.
3. Boot into Windows Preinstallation Environment
At this point, the bootloader (efi/boot/bootaa64.efi) will chain-load the bootmgr.efi file, replacing the current executing program (i.e. the bootloader) with the bootmgr.efi executable. This is similar to how the Unix exec() syscall operates.
bootmgr.efi is in charge of setting up the Windows Preinstallation Environment (WinPE), the mini operating system that’s used when you’re installing Windows.
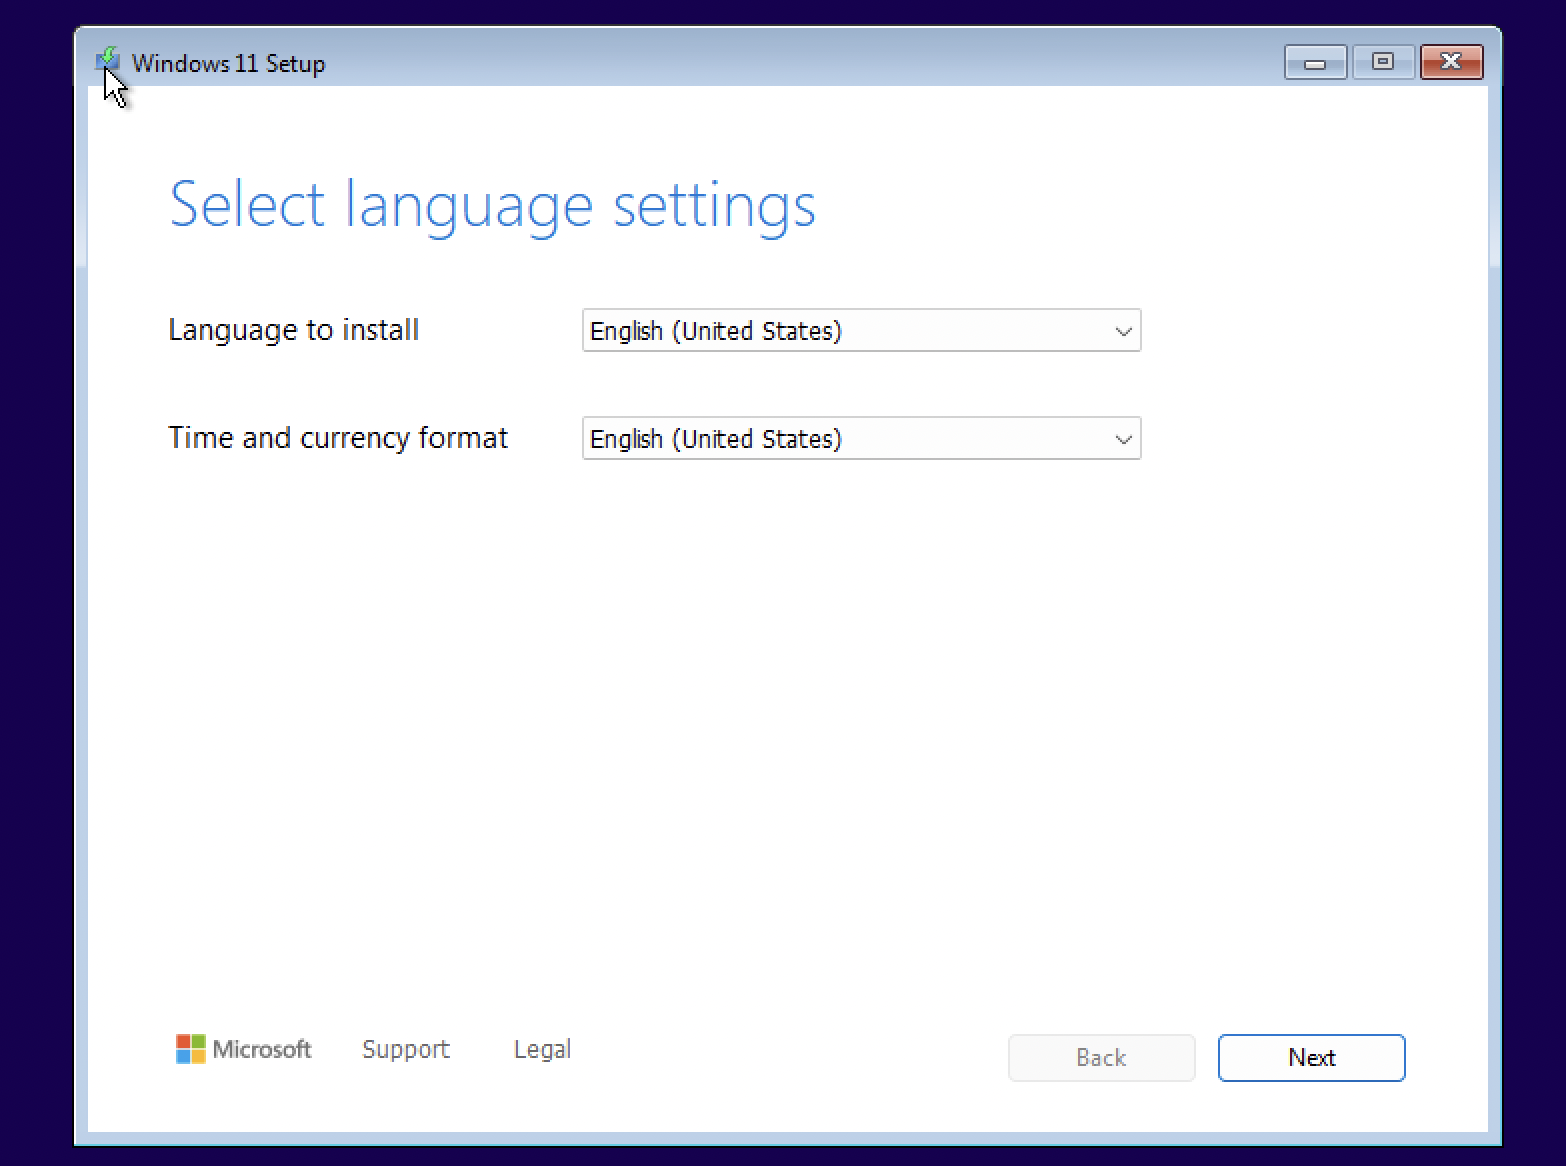
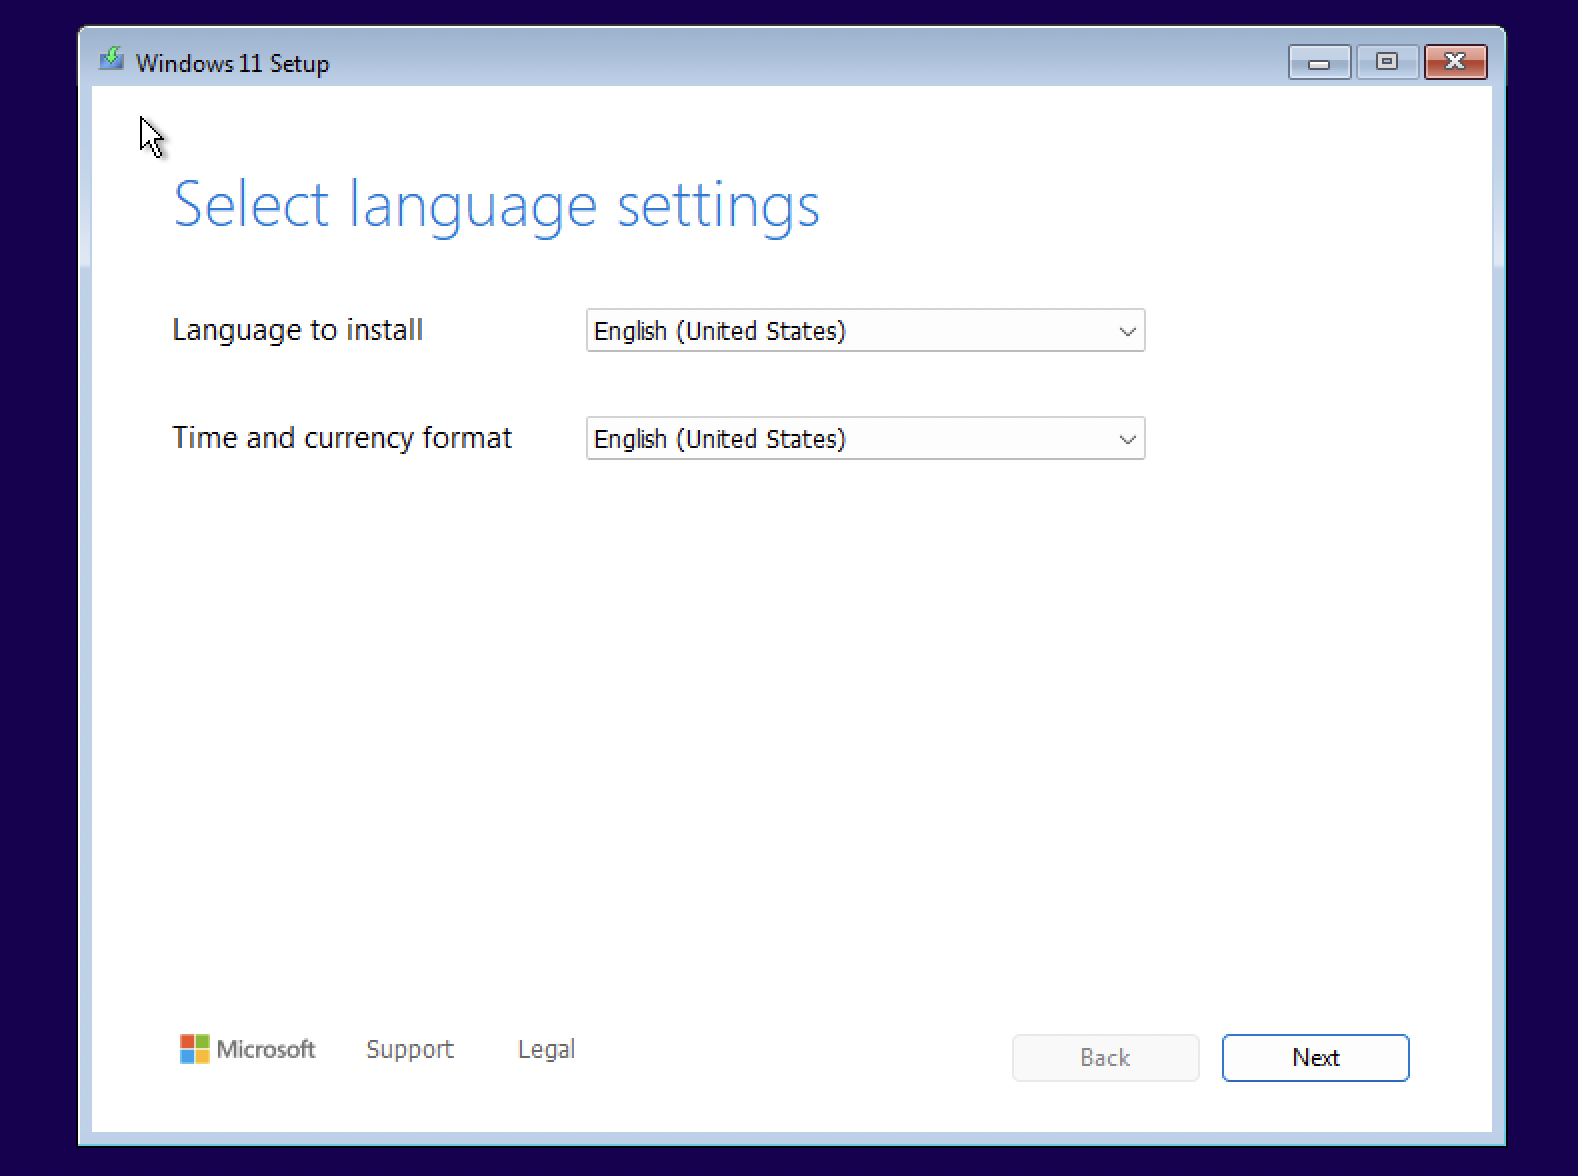 Figure 1: setup.exe running inside of the Windows PE operating system.
The WinPE operating system image is contained in sources/boot.wim (530 MB). This is a bootable Windows Imaging Format disk image, which we can open up and explore:
❯ 7z x boot.wim
...

❯ ls 1
'Program Files'  'Program Files (x86)'   ProgramData   Users   Windows   sources
The boot.wim image contains two sub-images in folders 1 and 2 - I’m not sure why the image is split this way, but ./1/Windows/System32/winload.efi (and the same file in ./2/Windows/System32/winload.efi) loads the WinPE operating system, initializes the kernel and drivers, and launches the setup.exe program.
4. Installing Windows
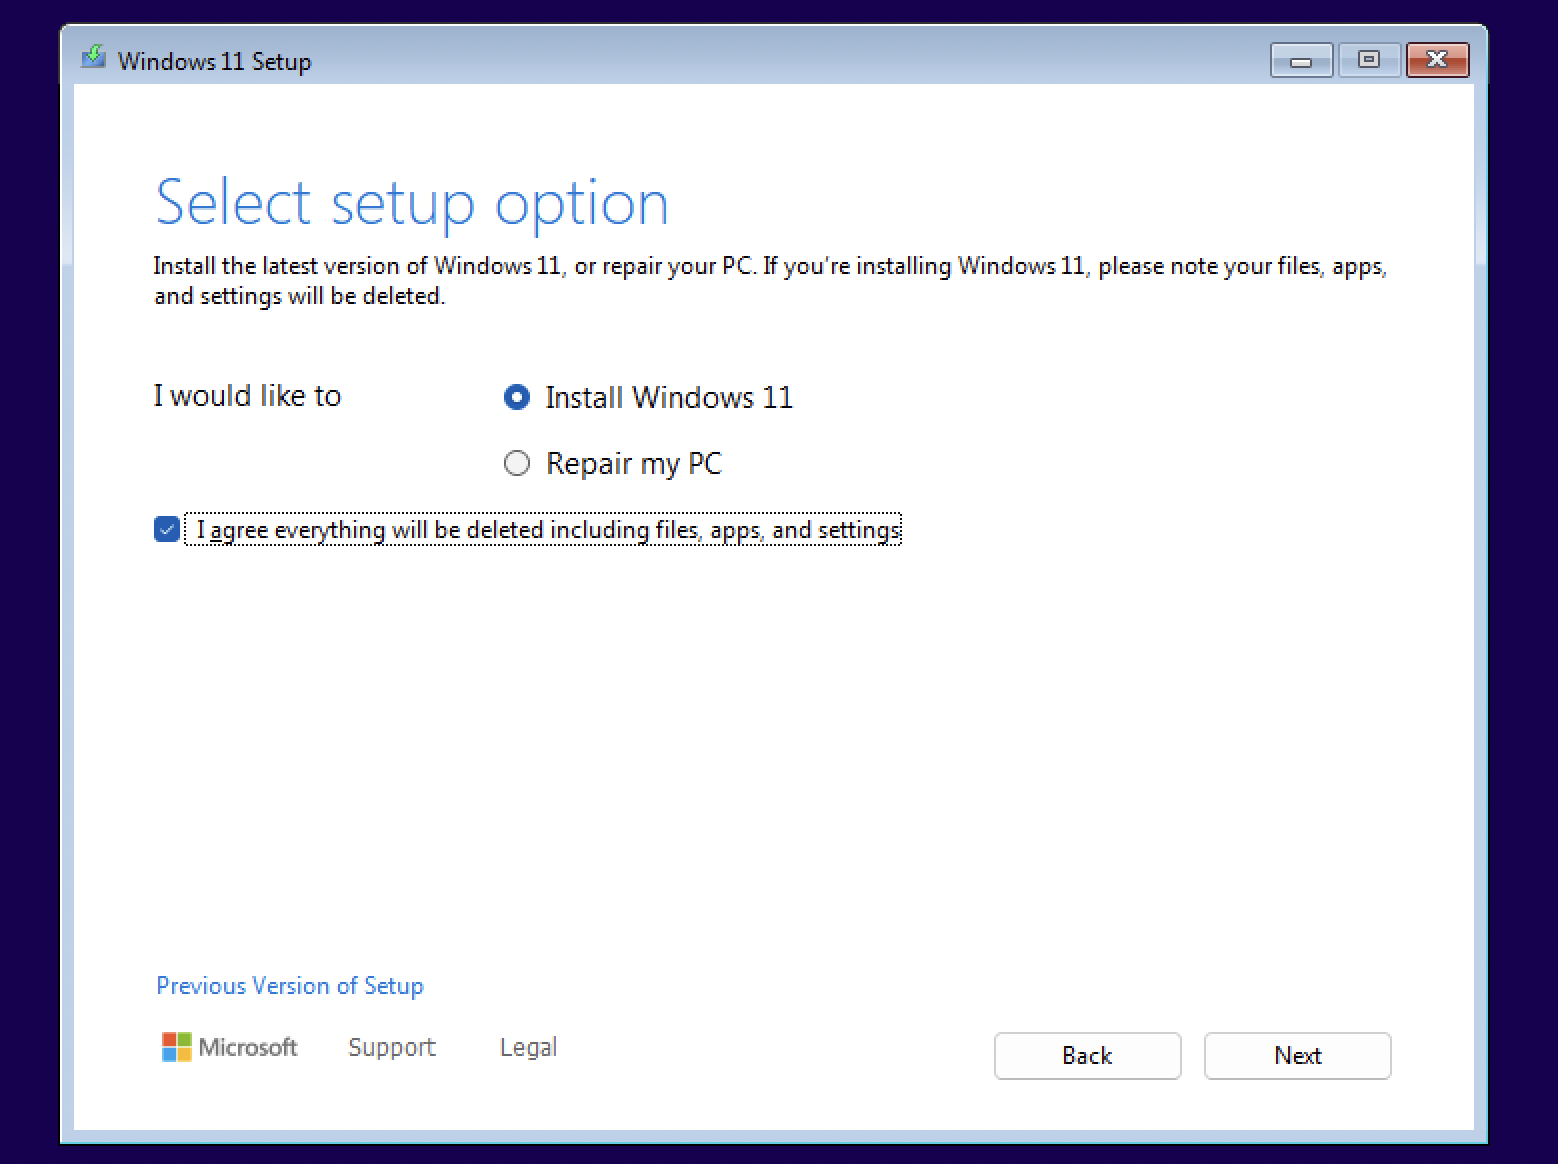
At this point, you have the familiar interactive menu for installing Windows, which lets you select a keyboard & language, enter your product key, and choose a Windows version to install.
Booting with QEMU
Now, let’s see how we can boot from the Windows ISO with QEMU. I’m using version 9.2.0 installed from homebrew (brew install qemu), which provides the qemu-system-aarch64 binary.
Booting from ISO file
Let’s start from the simplest command possible and build our way up. We want to effectively pass in a USB device with the ISO file burned onto it, so that the USB is directly bootable.
We should also explicitly specify the UEFI firmware - we can use OVMF from EDK II which is designed specifically for VMs (and doesn’t deal with proprietary hardware).
# emulate a USB device burned with the iso file (cd-rom media format)
❯ qemu-system-aarch64 \
	-bios /opt/homebrew/share/qemu/edk2-aarch64-code.fd \
	-drive file=Win11_24H2_English_Arm64.iso,media=cdrom,if=none,id=inst \
	-device usb-storage,drive=inst

qemu-system-aarch64: No machine specified, and there is no default
Use -machine help to list supported machines
Here, if=none means that we don’t need any special logic to handle the drive on the QEMU side, and id=inst is just an arbitrary identifier name (inst for installation) that refers to the device.
Specifying machine and CPU
Since we’re running Windows ARM, we can use the virt machine type with Apple’s built-in hypervisor to create a virtual machine (-accel hvf). By default, the virt machine on qemu-system-aarch64 uses the 32-bit cortex-a15 CPU. Instead, we can set -cpu host which exposes the same CPU features as our Mac machine.
Windows 11 also requires a minimum of 4GB memory and 2 cores, so we set that with the -m and -smp options.
# emulate a USB device burned with the iso file (cd-rom media format)
❯ qemu-system-aarch64 \
	-machine virt \
	-cpu host \
	-accel hvf \
	-m 4G \
	-smp 4 \
	-bios /opt/homebrew/share/qemu/edk2-aarch64-code.fd \
	-drive file=Win11_24H2_English_Arm64.iso,media=cdrom,if=none,id=inst \
	-device usb-storage,drive=inst

qemu-system-aarch64: -device usb-storage,drive=inst: No 'usb-bus' bus found for device 'usb-storage'
Handling USB devices
When you plug a USB device like a mouse into a physical machine, the USB host controller detects a change in voltage and initiates basic requests for that device’s vendor/product ID. Based on the device information, the controller then signals to the OS to load the corresponding device driver, and communication between the OS and USB device continues.
By default, QEMU does not provide a USB host controller. We can manually specify one with -device qemu-xhci. Now’s also a good time to specify usb-kbd which emulates a keyboard device and usb-tablet which gives us a mouse pointer to use in the VM.
❯ qemu-system-aarch64 \
	-machine virt \
	-cpu host \
	-accel hvf \
	-m 4G \
	-smp 4 \
	-bios /opt/homebrew/share/qemu/edk2-aarch64-code.fd \
	-device qemu-xhci \
	-device usb-kbd \
	-device usb-tablet \
	-drive file=Win11_24H2_English_Arm64.iso,media=cdrom,if=none,id=inst \
	-device usb-storage,drive=inst
Setting up graphics
To see the output display of the firmware, we need to provide a memory region (framebuffer) for the firmware to write pixel data to. QEMU lets us do this with the ramfb device, which sets up a region of physical memory on the guest machine for the display. This physical memory is mapped onto the host, where QEMU reads the data (as pixels) and displays them to the console.
❯ qemu-system-aarch64 \
	-machine virt \
	-cpu host \
	-accel hvf \
	-m 4G \
	-smp 4 \
	-bios /opt/homebrew/share/qemu/edk2-aarch64-code.fd \
	-device qemu-xhci \
	-device usb-kbd \
	-device usb-tablet \
	-drive file=Win11_24H2_English_Arm64.iso,media=cdrom,if=none,id=inst \
	-device usb-storage,drive=inst \
	-device ramfb
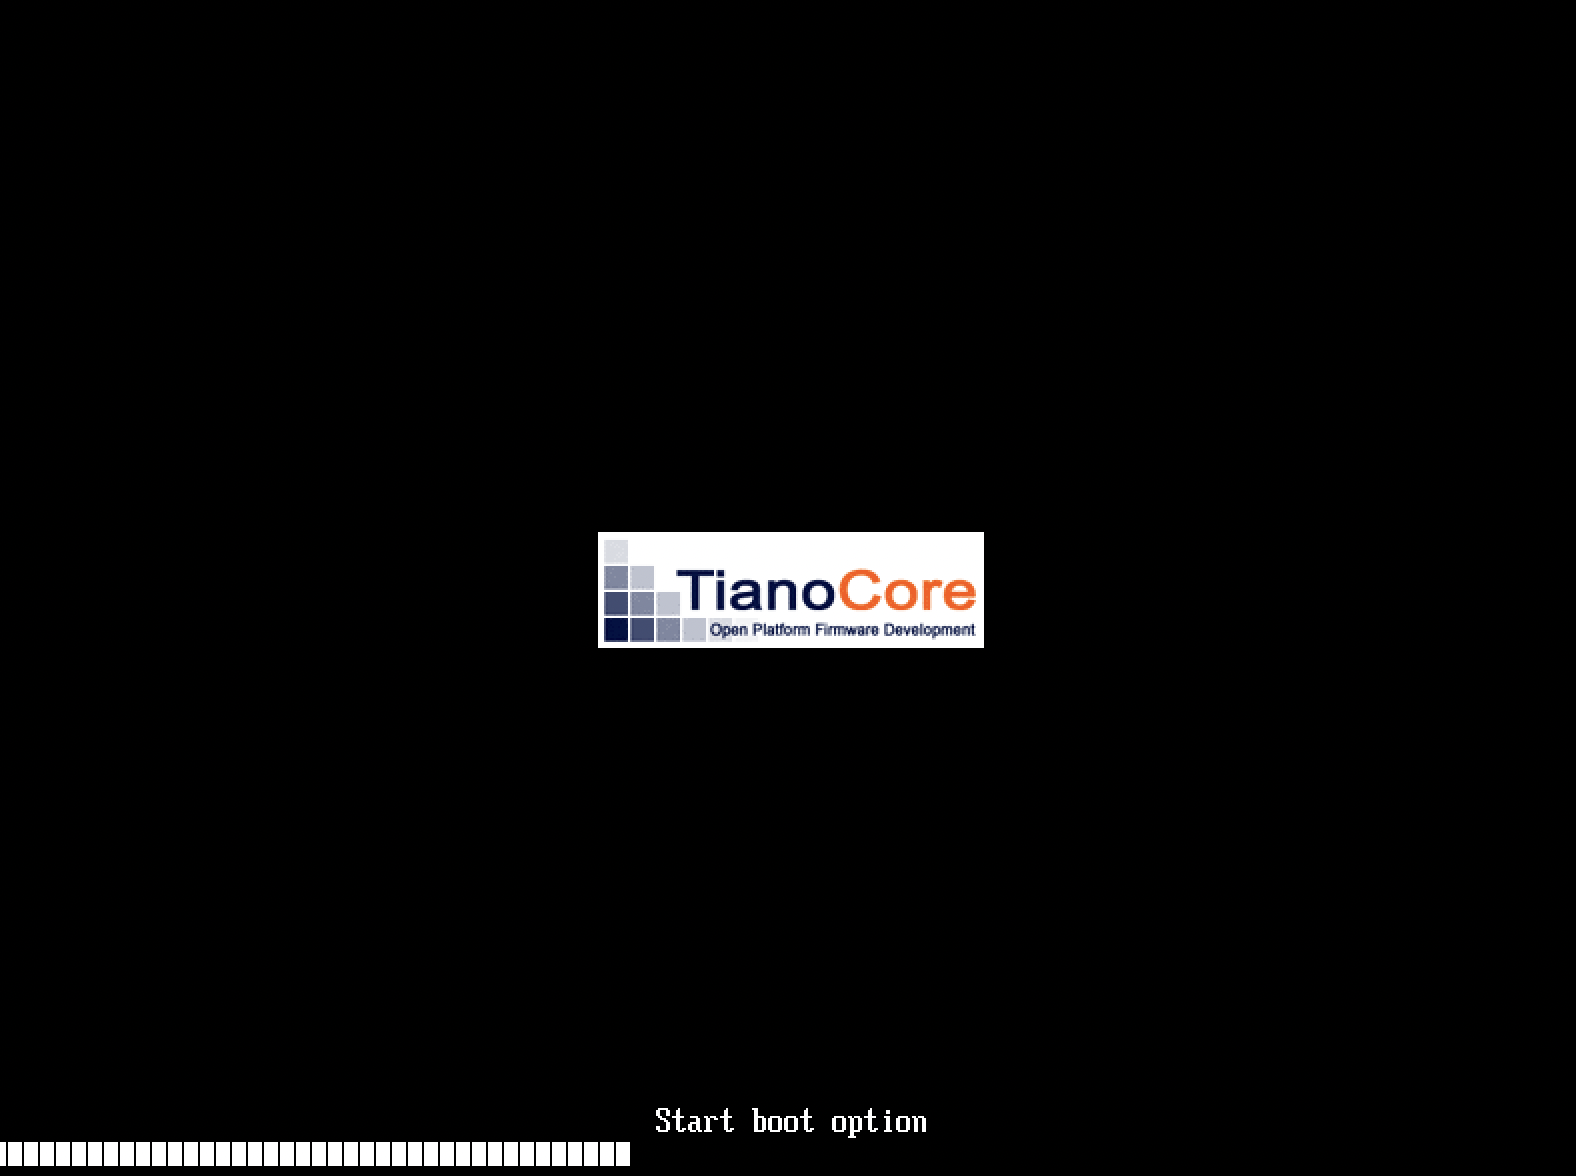
By this step, you should see the TianoCore (EDK II) boot menu and the Windows PE setup screen!
Note: if you get stuck in the EFI shell, you can run the bootloader directly with the command EFI\BOOT\BOOTAA64.EFI.
VirtIO devices
Finally, we need to provide an actual storage medium and network interface. For this, we can use VirtIO devices which lets the guest OS interact directly with the host hypervisor for tasks like network packets handling (virtio-net), block storage (virtio-blk), and graphics rendering (`virtio-gpu).
We create a disk image in QEMU’s qcow2 format:
qemu-img create -f qcow2 win11-arm.qcow2 64G
This disk is the one that we’ll download and install Windows onto.
Now, we can specify a virtio-blk device for storage, as well as the network and gpu-display virtio devices.
Windows does not provide native support for VirtIO devices (unlike Linux), so we have to install drivers to allow these devices to communicate with the Windows kernel. Download the ISO from https://fedorapeople.org/groups/virt/virtio-win/direct-downloads/archive-virtio/ (I’m using version 0.1.266) and add that as a USB device, same as what we do for the Windows ISO.
qemu-system-aarch64 \
	-machine virt \
	-cpu host \
	-accel hvf \
	-m 4G \
	-smp 4 \
	-bios /opt/homebrew/share/qemu/edk2-aarch64-code.fd \
	-device qemu-xhci \
	-device usb-kbd \
	-device usb-tablet \
	-drive file=Win11_24H2_English_Arm64.iso,media=cdrom,if=none,id=inst \
	-device usb-storage,drive=inst \
	-device ramfb \
	-drive file=virtio-win.iso,media=cdrom,if=none,id=iso \
	-device usb-storage,drive=iso \
	-drive file=win11-arm.qcow2,if=virtio \
	-nic user,model=virtio-net-pci \
	-device virtio-gpu-pci
Installing Windows
Now, proceed through the installation as you normally would. After selecting the Windows Image (Home or Pro), you’ll see the following error message:
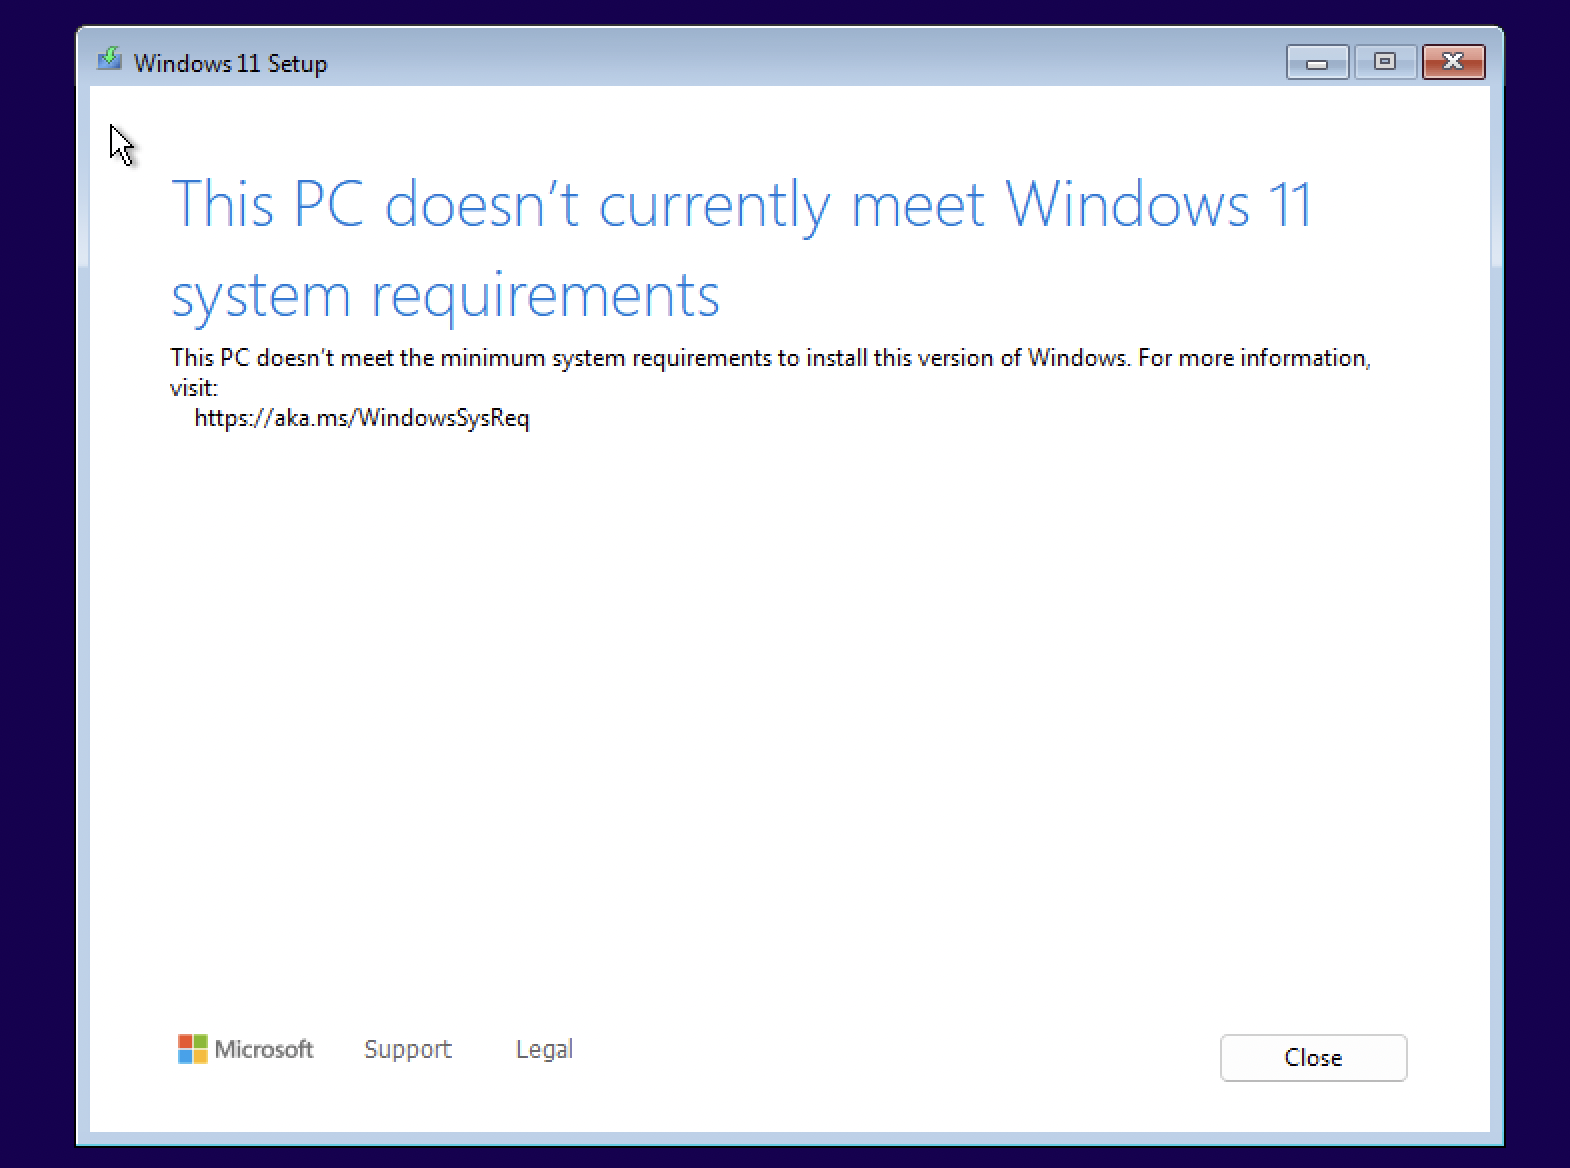
This occurs because Windows checks for a few requirements, including:
- TPM 2.0, a security-specific chip designed for crypto-related operations.
- Secure Boot, a firmware feature that only allows signed and trusted bootloaders
- At least 4 GB memory and 2 cores.
We can bypass all of these by editing an internal registry config. At some point before the system requirements page:
- Shift + F10 - this launches an administrative command prompt
- Run the
regeditcommand in the terminal - Create a
LabConfigkey inHKEY_LOCAL_MACHINE\SYSTEM\LabConfig, with the DWORDS set to value 1: - BypassTPMCheck - BypassSecureBootCheck - BypassRAMCheck (we already provide 4GB, but you may need this option if you decrease the memory in the QEMU command).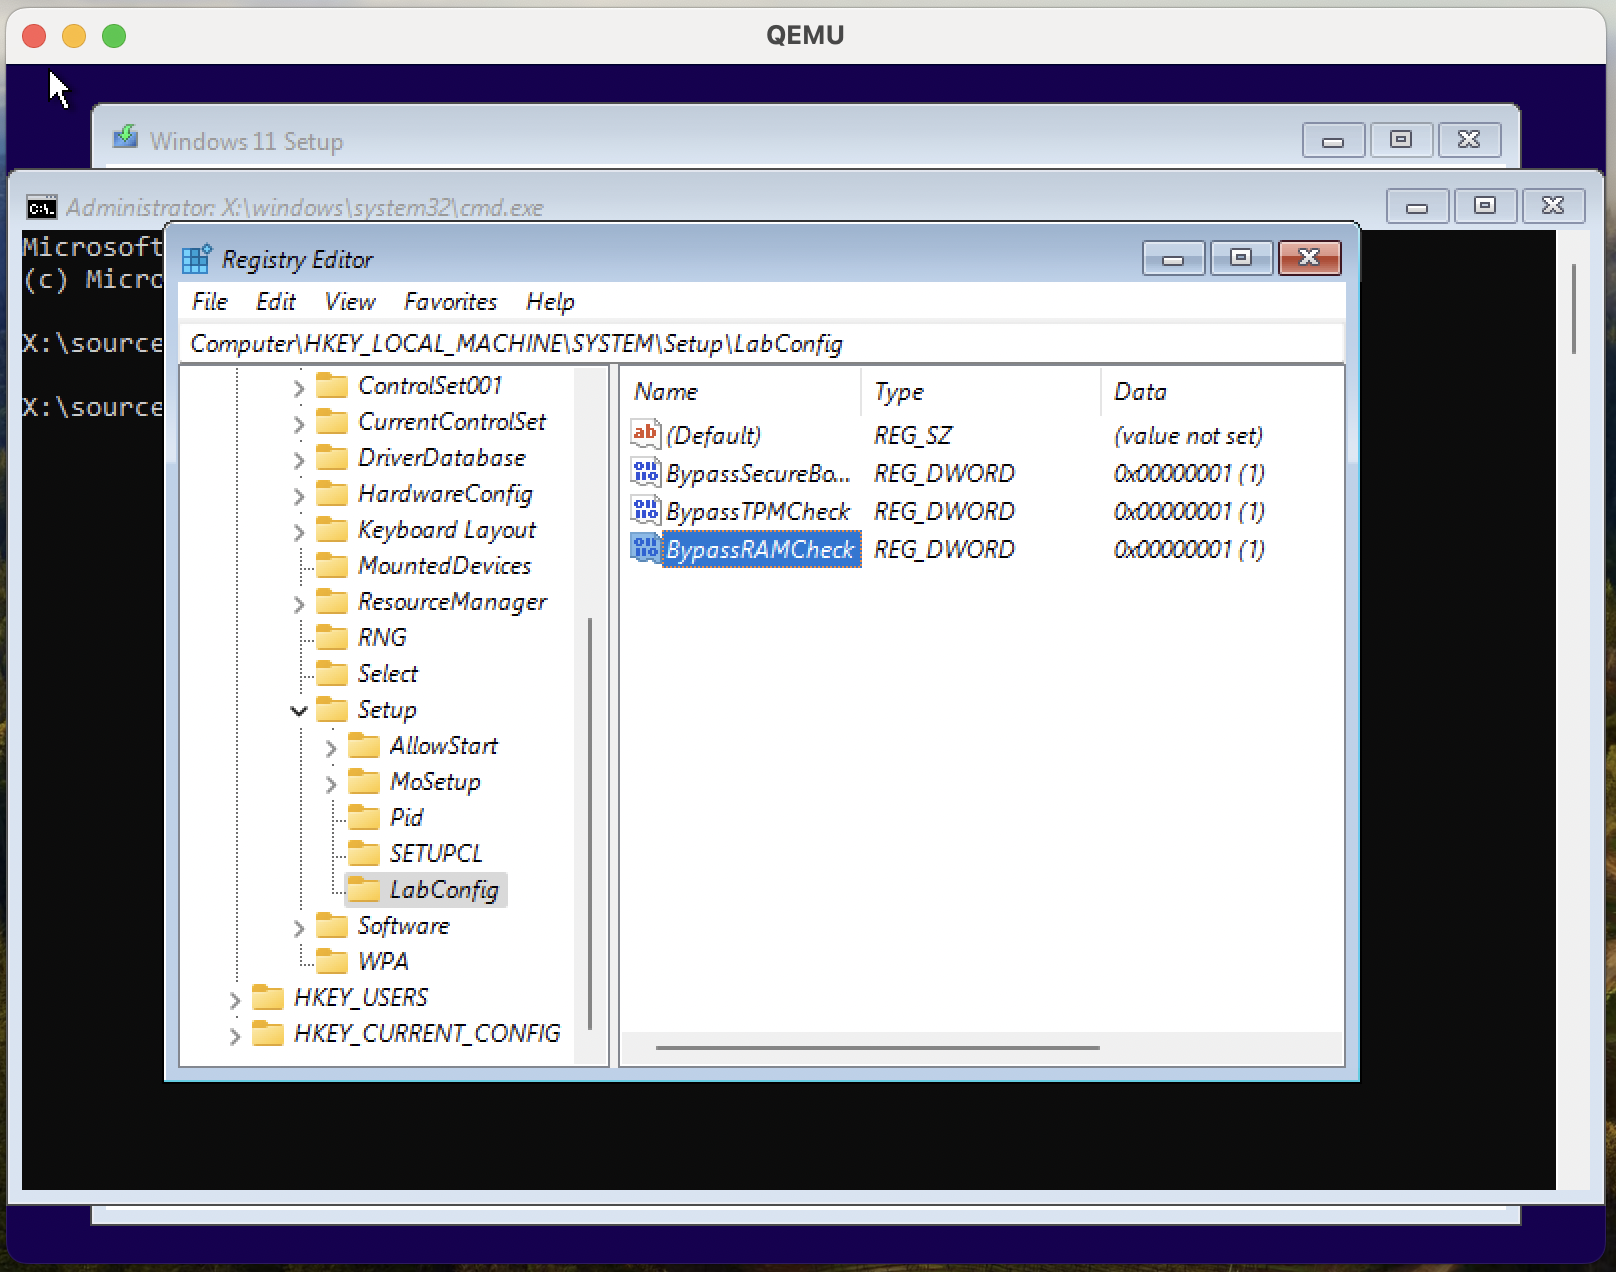
After agreeing to the license, Windows searches for a disk to install onto. Our disk is the virtio-blk device described earlier, which we need to load drivers for (click ‘Load Driver’ and browse to E:\viostor\w11\ARM64):
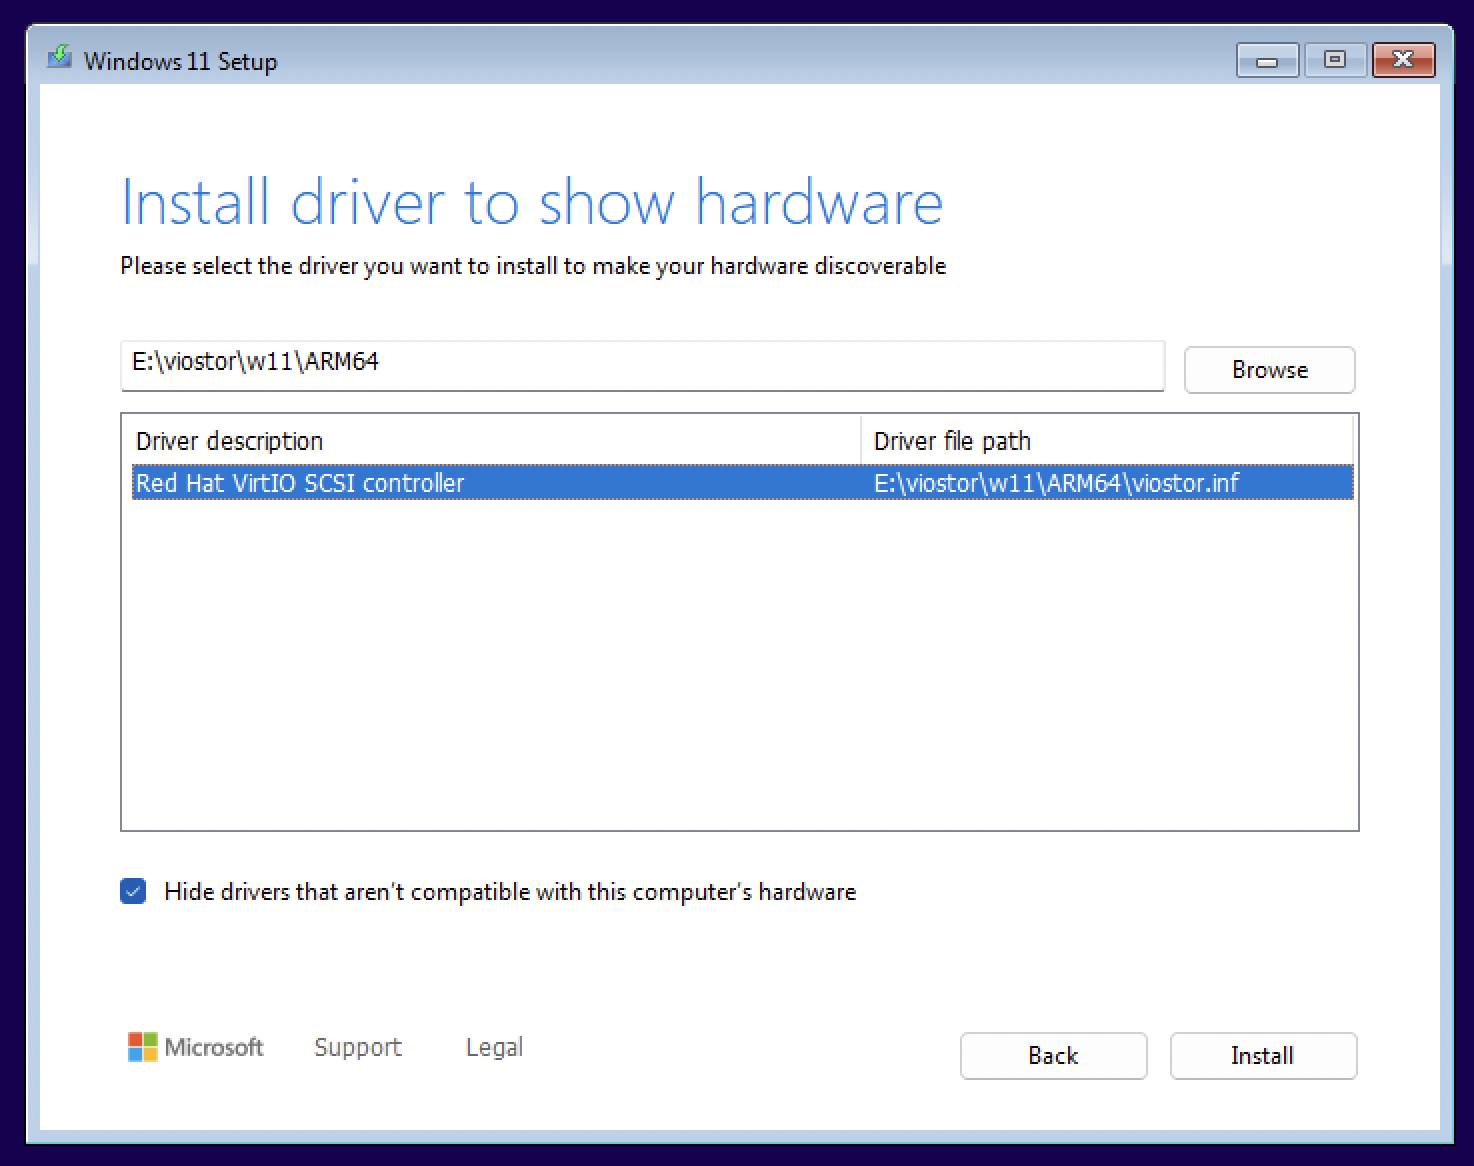
Now, we can load the drivers for virtio-gpu and virtio-net. These are found in E:\viogpudo\w11\ARM64 and E:\NetKVM\w11\ARM64.

Post-installation
On subsequent boots to the Windows VM, we no longer need the Windows and VirtIO driver ISO files, since the installation now lives in our qcow2 disk image.
Additionally, to support audio, add the flags:
-device intel-hda \
-device hda-duplex
The first option, -device intel-hda, tells QEMU to emulate an Intel High Definition Audio controller that manages the communication between the OS and the codec. The second option, -device hda-duplex, is the codec that plays and records audio. You can think of it as a function that transforms raw bytes of audio into sound, and vice versa.
Put all together:
qemu-system-aarch64 \
	-machine virt \
	-cpu host \
	-accel hvf \
	-m 4G \
	-smp 4 \
	-bios /opt/homebrew/share/qemu/edk2-aarch64-code.fd \
	-device qemu-xhci \
	-device usb-kbd \
	-device usb-tablet \
	-drive file=win11-arm.qcow2,if=virtio \
	-nic user,model=virtio-net-pci \
	-device virtio-gpu-pci \
	-device ramfb \
	-device intel-hda \
	-device hda-duplex
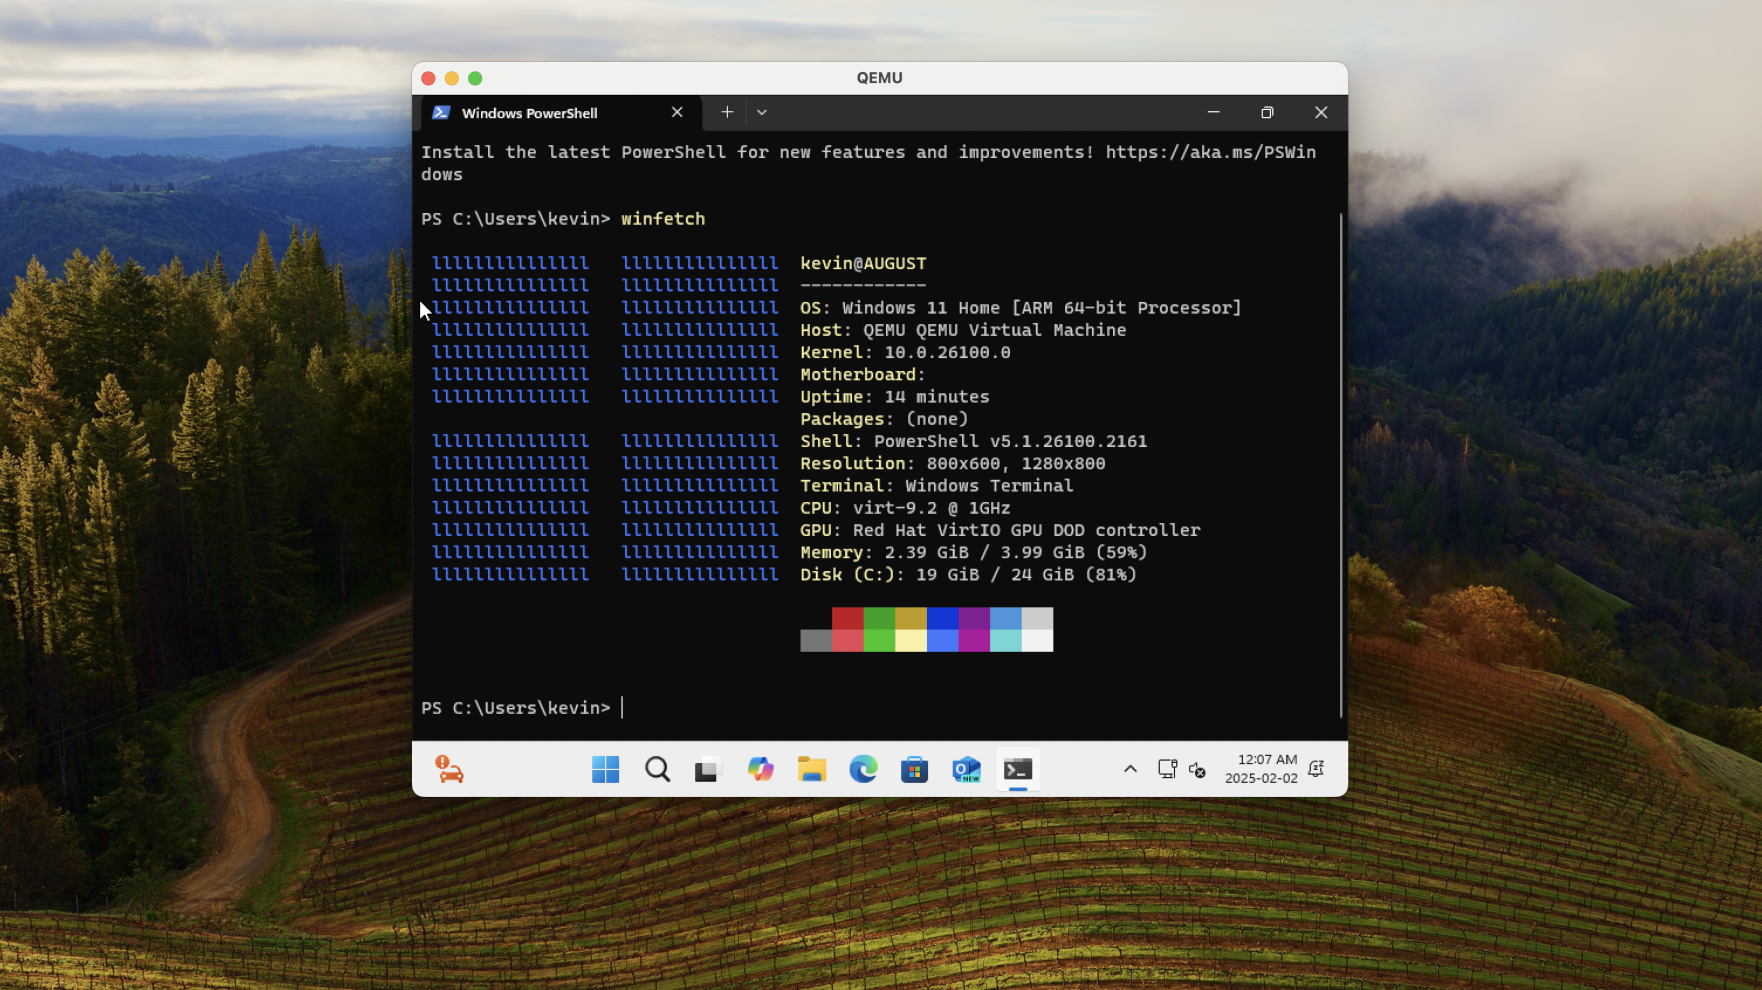
And that’s all!